Last week was jam packed. If we weren't busy with a basketball game, we were hosting a party. Out of the five games that we had, we had 4 wins and 1 loss. Not bad for a week of basketball! Maggie hit her very first three point shot in a game last week....that was fun! You can't really do an excessive amount of celebrating when it happens (unless you want to sit the bench) so we got this instagram shot in the car on the way home.
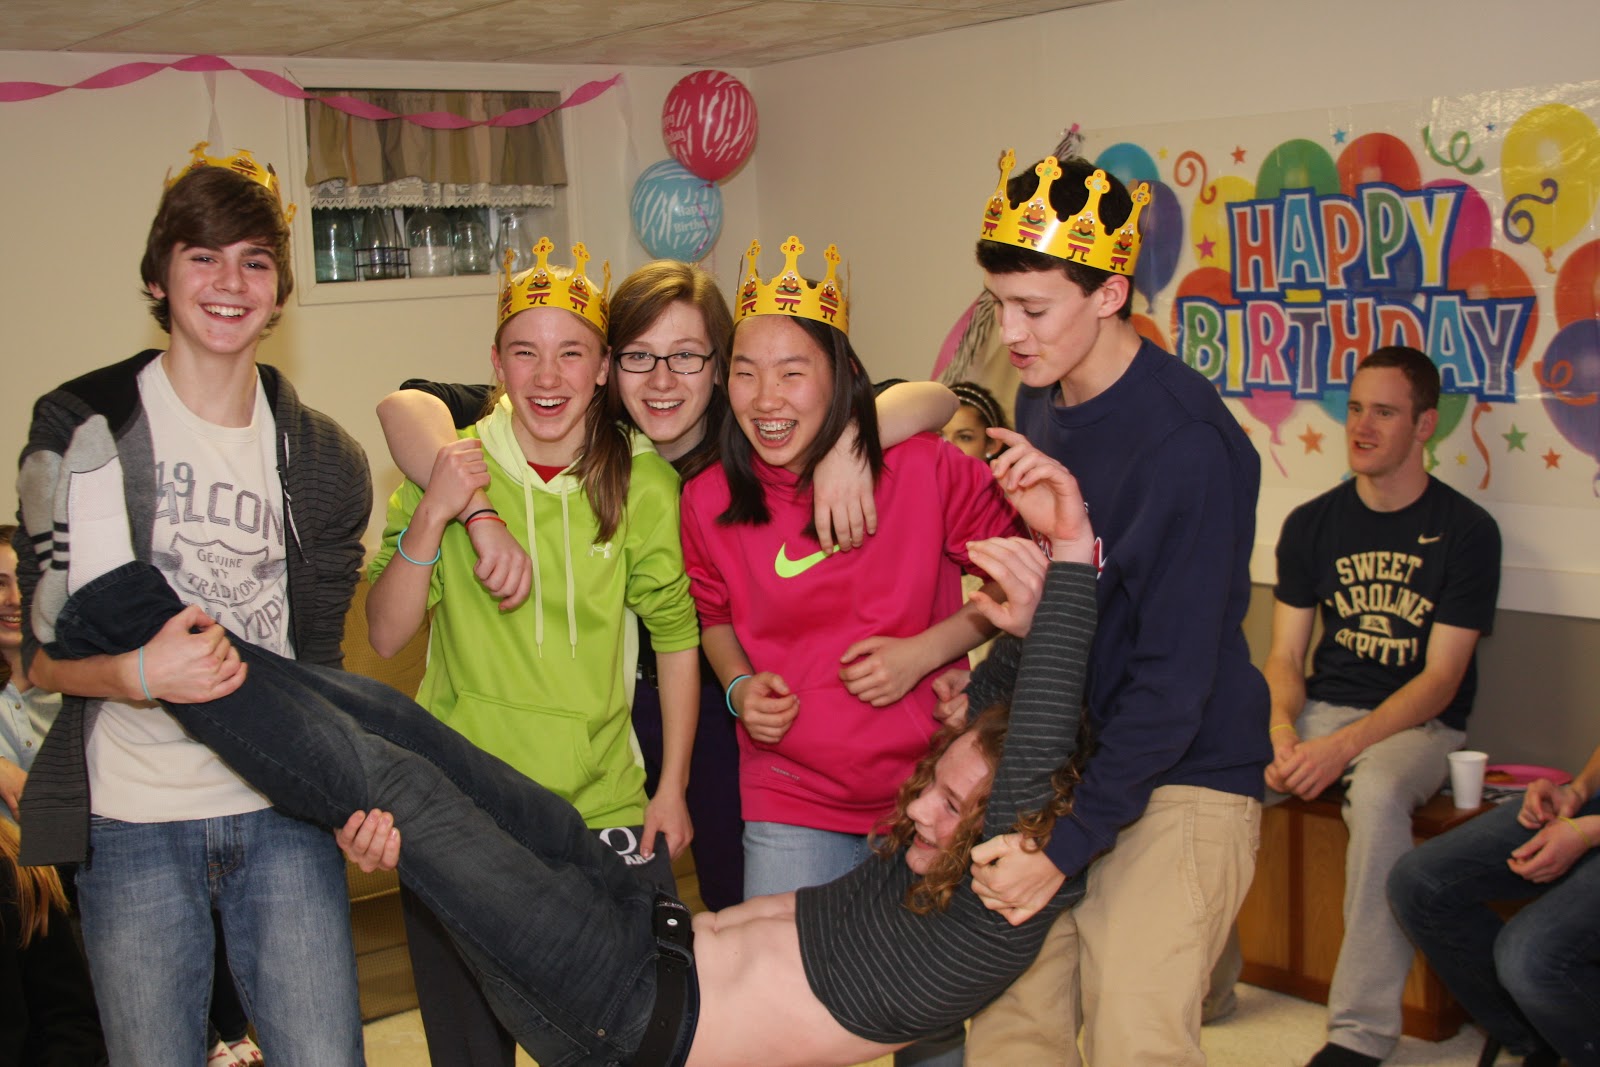
In the middle of the week, Maggie invited the senior basketball players over for pizza and fun. They worked on the banners that they'll run through on Senior night and they did some crazy skits that my John will incorporate into the end of the season video that he does for all 4 basketball teams.
There was a lot of laughter! Some of the clips had to be done over several times. But they were all good sports and made a lot of memories. It poured all night and one of the girls who lives farther away, spent the night. Nothing like getting rained in!
(instagram photo)
On Thursday, Mckenzie turned 16!! I always call her Kenzie Love and so her birthday chalkboard had to reflect that as well. We had classes on Thursday, but we celebrated with birthday pancakes and she got to open her gift before everyone headed out the door.
She'd been wanting these headphones for awhile...I think we were successful in surprising her! They of course had to be pink so she was beyond excited about them.
On Saturday we had her sweet 16 party. We had a photo scavenger hunt. 27 kids and 5 adults met in the parking lot of the local grocery store. I think the manager of the store was a bit concerned about the number of kids who showed up. (my mother in law has a picture of the group on her camera...I just can't figure out how to get it off)
They were divided up into teams and off they went with their drivers to collect points by finding and documenting different tasks. At the cut off time, everyone met back at the house and got to see everyone's photos on our TV screen. It was so fun! They got pictures with firemen on fire trucks, pictures doing a good deed for strangers, waddling across the street like a line of ducklings and tons of other crazy things.
(these girls won! They joked that they were the under-dog team. They were the only team without guys and they had a grandma driving them...)
The winners ended up with the most points accumulated. After that, the kids danced and ate and giggled their way through the evening. We set up a candy bar and for their party favors, the kids got to fill a Chinese take out box full of candy to take home.
I made this bunting for Kenzie's party. She wanted some zebra stripes, but since I didn't have any we went with all pinks and decided we'd leave it up for Valentine's day. After that, she can put it in her room which is pink, pink and more pink. It will go perfectly.
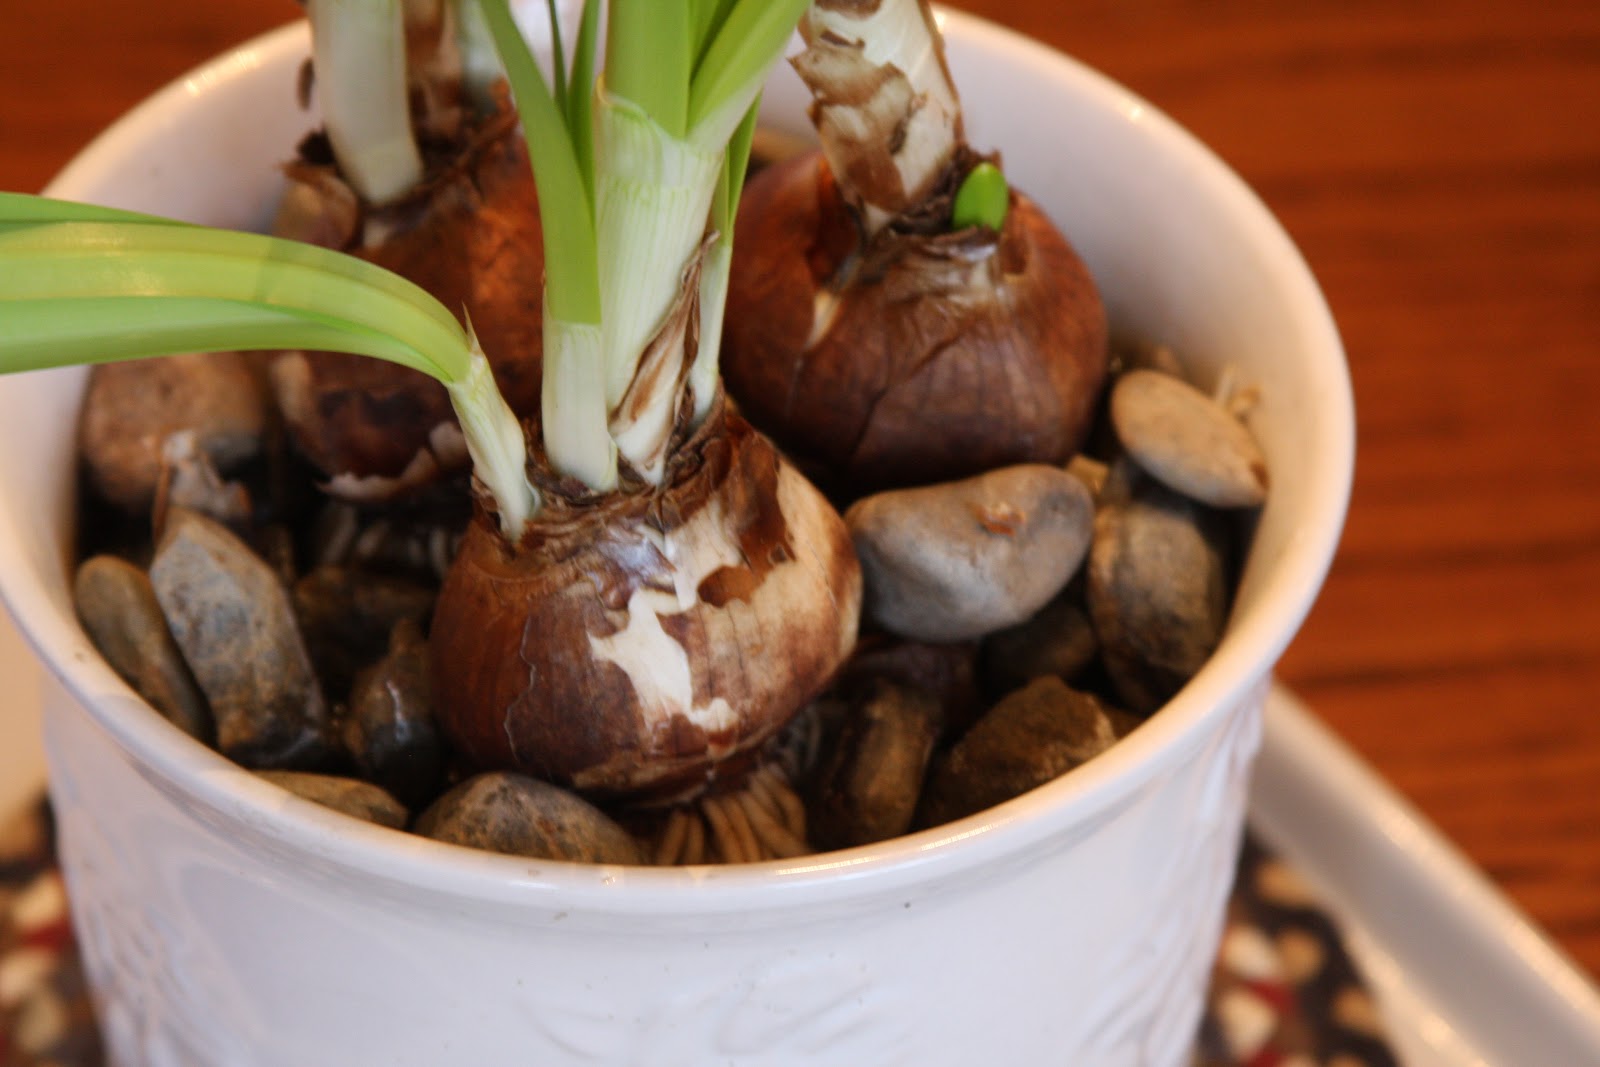
I also realized that I love how paper whites look, but I can't stand their smell. My neighbor gave me the bulbs about a month ago and I've loved watching the progress of the plants as they were forced to life.
But about a week ago I kept getting a whiff of something odd....I couldn't figure out what it was. As more and more blooms opened I finally realized it was the paper whites. boo! I guess everything can't be beautiful and smell good too...
Well, that's last week in a blur. I hope you're enjoy the other side of last week as much as I am! Welcome February! Good bye paper whites!